Here is a Snowman that I've had in my drawer for a few years and decided to get him out and use him again. This stamp is from Whippersnapper. I first choose the Christmas paper from the My Mind's Eye "Believe" collection. Then I picked out the cardstock to match. I then colored him with Copics to match the paper. I used the drippy goo Martha Stewart punch for the one border and the scallop edge border punch from Fiskars for the other. I used the Scorbuddy and Scorbug to make stitch lines around the card and on the red strip. I then used dies to make the swirl and the poinsettia accents and decorated around the Merry Christmas sentiment. The sentiment was cut out using Spellbinders circle dies. Keep warm!
Showing posts with label Whipper Snapper. Show all posts
Friday, December 3, 2010
Thursday, October 21, 2010
Sweet Treats!
Saturday, August 14, 2010
Microfine Glitter - WOW!
I am having fun with the new Microfine Glitter from Elizabeth Craft. Using the Be Creative tape on the background. Once the liner tape is removed, you can use the liner to cut or punch shapes to mask images. On the sample below, I punched out snowflakes and put the masks back on the tape. Because the liner is the mask, they can easily be removed. Then you sprinkle on the Liberty Blue Microfine glitter onto the exposed tape. Rub glitter firmly into the tape and shake off the excess. Now remove the snowflake masks...It works best with a fine pointed tweezers. Then sprinkle with the Cool transparent glitter and again rub glitter firmly and shake off the excess. This technique is called brushed velvet. It is smooth and the glitter won't rub off onto you hands later!!!
On the butterfly card, I used a square of the Be Creative tape on white cardstock. Then after I removed the liner sheet, I place a Class A'peel butterfly sticker onto the tape. Use the removed liner to press the sticker onto the tape. Then I used the transparent glitter on the tape and rubbed the glitter firmly into the exposed tape. Now the whole square is covered with glitter. Then you can use your Tombow markers directly onto the glittered surface and spread the color with a water brush. I love this look!

This is just one more sample that I did using the NEW spider web border punch as a mask. Then using the Java and the Grasshopper Microfine glitters to fill in the tape sheet. There will be a class offered at The Stamp Shoppe on September 7th for anyone that would be interested in seeing more with these techniques.
Labels:
Elizabeth Craft,
Memory Box,
Stampendous,
Whipper Snapper
Monday, July 12, 2010
Chalk It Up

Labels:
Amuse,
Chalks,
Class by Jane Bosi,
Peddlers Pack,
Whipper Snapper
Sunday, July 11, 2010
Here's the scoop!
Labels:
Bo Bunny Press,
Copic Markers,
Nestabilities,
sizzix,
Whipper Snapper
Saturday, October 10, 2009
Happy Haunting
Labels:
Bo Bunny Press,
Copic Markers,
Dress It Up,
Whipper Snapper
Friday, September 25, 2009
Nestabilities has new Labels!!!
Using the Label six nestabilities, I glued half of the label to the decorative paper before running it through my cuttlebug. This is an older cuttlebug folder with the space for a word. I then used my ScorBug and embossed stitch lines. Then I cut a separate piece for my sentiment and attached with brads. These cuties are from Whippersnapper. I colored them with Copics and added highlights with my white gel pen. Adding some flowers and gems...finished! I have also used this label six die to make tag toppers.
Labels:
Cuttlebug,
Nestabilities,
Scor-Pal,
Whipper Snapper
Saturday, September 5, 2009
Copic Class II
Friday, August 21, 2009
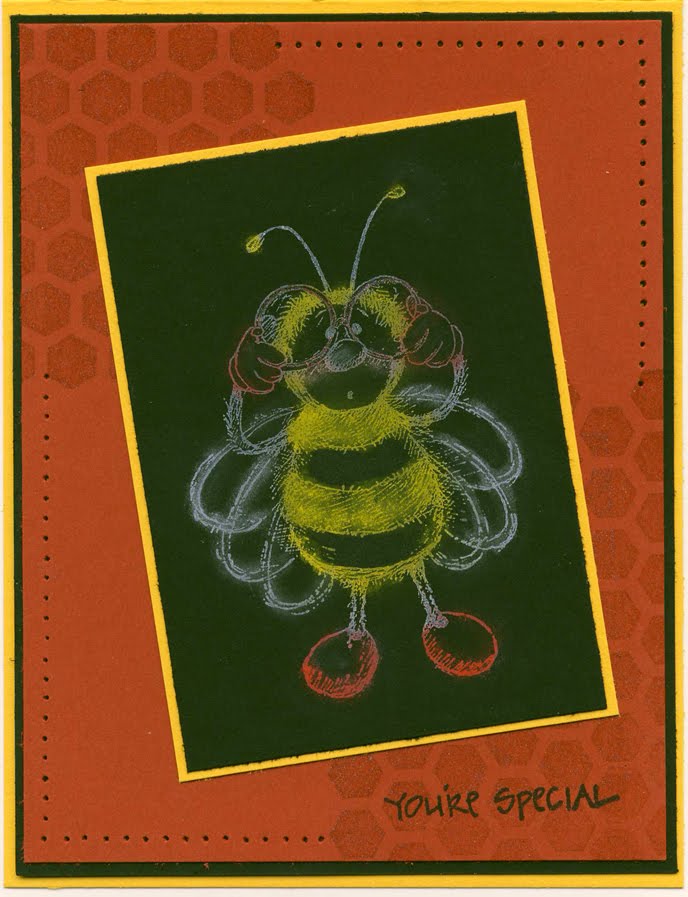
Bee-happy!
Labels:
Copic Markers,
Cuttlebug,
Hambo Stamps,
Nestabilities,
Whipper Snapper
Saturday, August 15, 2009
It's your day!
Labels:
Copic Markers,
Dress It Up,
sizzix,
Whipper Snapper
Monday, August 3, 2009
When you're Hot, You're Hot!
Monday, July 27, 2009
What a stinker!
Labels:
A Muse,
Copic Markers,
Cuttlebug,
Prima Marketing,
Whipper Snapper
Sunday, July 19, 2009
The Season for BBQ
Labels:
Copic Markers,
Hambo Stamps,
Nestabilities,
Whipper Snapper
Monday, June 29, 2009
Whipper Snapper Cutie!
I made this card as part of a sketch challenge....love the Whipper Snapper girl and the happy birthday by A Muse. Designer Paper is by Memory Box I used faux stitching, primas and a bit of bling to dress up the card....perfect for a girl in your life! ~michelle~
Saturday, June 27, 2009
World's Best!

Check out this adorable fellow from Whipper Snapper! He just screams summer to me! He's a hoot to color with Copics! I used Spicas on his spatula for a metallic glint! The cardstock is pre-cut by The Paper Cut...and any alphabet stickers will do ya!
This is a fun window card that opens to reveal a recipe, and then opens again for your message.
Hope he makes you grin too! :)
~michelle~
Monday, June 22, 2009
Hot Diggety Dog!!
Another fun Whipper Snapper image! This card features Copic Markers, Inkssential White Gel Pen and doodling. It also uses the Making Memories Edge Distressing Tool....a perfect accent for a card like this, it goes with the theme very well. Flowers are by Prima and the designer paper is by Cloud9 Design.~michelle~
Sunday, June 21, 2009
Whipper Snapper Friend!
This image from Whipper Snapper is so fun, perfect to send to a friend! Image is colored with Copics and highlighted with Inkssenital White Gel pen. Doodling frames the image. Designer paper is from Cloud9 Design. Glitter flowers are by HeidiGrace and add the perfect amount of bling to the project.
Monday, June 15, 2009
Whipper Snapper Mouse!
This adorable image is by Whipper Snapper Designs. These designs are lots of fun to color with the Copic Markers, they have nice open areas to practice your shading techniques! Remember to use your Cuttlebug Embossing folders....simply embossing a strip of coordinating cardstock adds so much to a card. Heidi added Prima flowers and coordinating gems that mirror the flowers in the designer paper. Check out the tiny scalloped circle frame around the sentiment!~michelle~
Labels:
Copic Markers,
Cuttlebug,
Inkssential,
Prima Marketing,
Whipper Snapper
Monday, May 11, 2009
Birthday Surprise!
This is one of the sample cards Heidi and I created for the Sayner Stamp Convention. She colors the image and hands it to me with a piece of designer paper....I get to make the card! She deprives me of sleep....and provides me with caffeine until we both crash! The image on this one is Whipper Snapper, is colored with Copics and highlighted with Inkssential White Pen.
I added doodling to the image to define it. I used the corner punch in a different way, tucking it under the image for just a little added pop of color. Nestabilities were used for the sentiment, which was popped up on a foam dot. Prima flowers, gems and some metallic ribbon add a festive feel to the card. Designer paper is Cloud9 Design. ~michelle~
Tuesday, May 5, 2009
You Take The Cake!
The Stamp Shoppe featured Whipper Snapper stamps at the Sayner show as well. These images are adorable and easy to color with Copic Markers and highlighte with the white Inkssentials pen. Nestabilities add lots of interest without taking away from the image. Designer paper is by Cloud9 Designs. ~michelle~
Subscribe to:
Posts (Atom)