Saturday, August 14, 2010

Microfine Glitter - WOW!

I am having fun with the new Microfine Glitter from Elizabeth Craft. Using the Be Creative tape on the background. Once the liner tape is removed, you can use the liner to cut or punch shapes to mask images. On the sample below, I punched out snowflakes and put the masks back on the tape. Because the liner is the mask, they can easily be removed. Then you sprinkle on the Liberty Blue Microfine glitter onto the exposed tape. Rub glitter firmly into the tape and shake off the excess. Now remove the snowflake masks...It works best with a fine pointed tweezers. Then sprinkle with the Cool transparent glitter and again rub glitter firmly and shake off the excess. This technique is called brushed velvet. It is smooth and the glitter won't rub off onto you hands later!!! On the butterfly card, I used a square of the Be Creative tape on white cardstock. Then after I removed the liner sheet, I place a Class A'peel butterfly sticker onto the tape. Use the removed liner to press the sticker onto the tape. Then I used the transparent glitter on the tape and rubbed the glitter firmly into the exposed tape. Now the whole square is covered with glitter. Then you can use your Tombow markers directly onto the glittered surface and spread the color with a water brush. I love this look!

This is just one more sample that I did using the NEW spider web border punch as a mask. Then using the Java and the Grasshopper Microfine glitters to fill in the tape sheet. There will be a class offered at The Stamp Shoppe on September 7th for anyone that would be interested in seeing more with these techniques.


Wednesday, August 11, 2010

Something Scary...& NEW!

Check out these NEW Halloween Punches that just arrived at The Stamp Shoppe!! The spider web was punched out with the border punch. Then I used the ScorBug and a black, fine line pen to add the stitched string for the spider to hang from. The Spider is a new gem from Memory Box. The I used the Happy Halloween sentiment from the SRM Halloween sticker sheets.
On this card I stenciled cloud with black ink on gray paper. Then I punched out the moon from orange paper and sponged the edges with black ink. I used the Flying Witch from Great Impressions and stamped her on white cardstock, colored her with Copic Markers and cut her out. The I used the Iron Fence border punch and punched it out of black paper. I punched the grass out of green cardstock. Then sentiment was from SRM stickers.

Monday, August 2, 2010

New from Cuttlebug!

Here are some samples of the *NEW* Cuttlebug Cut & Emboss folders: On the above card I used Cut & Emboss folder on pink Bazzill Basics cardstock. This folder cuts out the square window as well as embosses and pierces the paper. I then cut out out of the blue card, a square with the plain square nestabilities. I used some blue Creative Impressions silk ribbon to decorate the card front and adhered to the card. This cute little girl stamp is a clear set from Ecstasy Crafts. She was stamped on a white piece of cardstock and then I colored her with Copic Markers. This was placed inside the card, so you could see her through the front of the card. The sentiment is from My Favorite Things and cut out with a scallop nestabilities die.
This sample uses one of the smaller Cut & Emboss folders for Cuttlebug. I used the oval die on a light olive green cardstock. Then stamped the daisies from JustRite stamps on white cardstock and cut out from the long oval nestabilities. The daisies were also colored with Copics. Then I just layered onto more paper and the card was complete. The folders make it look like you spent hours on the cards, when all it takes is a few minutes! Come in and see our whole collection!

Tuesday, July 13, 2010

Having flies...

Here is the Mojo Monday challenge sketch for this week. First, I stamped the lily pad and then masked it before stamping the cattails. I then colored them with Copic markers and cut into four even squares. The waving frog was also colored with Copics and cut out to be 3-D over the background. All stamps are from the newest Stamp Shoppe Creations line. I used the rays Tim Holtz texture fades folder on the Bo bunny dots paper. Then I stamped sentiment from Endless Creations and cut out with the nestabilites. Finally I stamped the dragonfly, which was colored with Copics and glittered over the whole thing. I glued the bug over the sentiment and used the splashes instead of ribbon or paper, to follow all pieces of the sketch. Have a great week!!

Monday, July 12, 2010

Chalk It Up


Greetings Friends! After a bit of a hiatus, I'll be back at it this week teaching at the Shoppe!
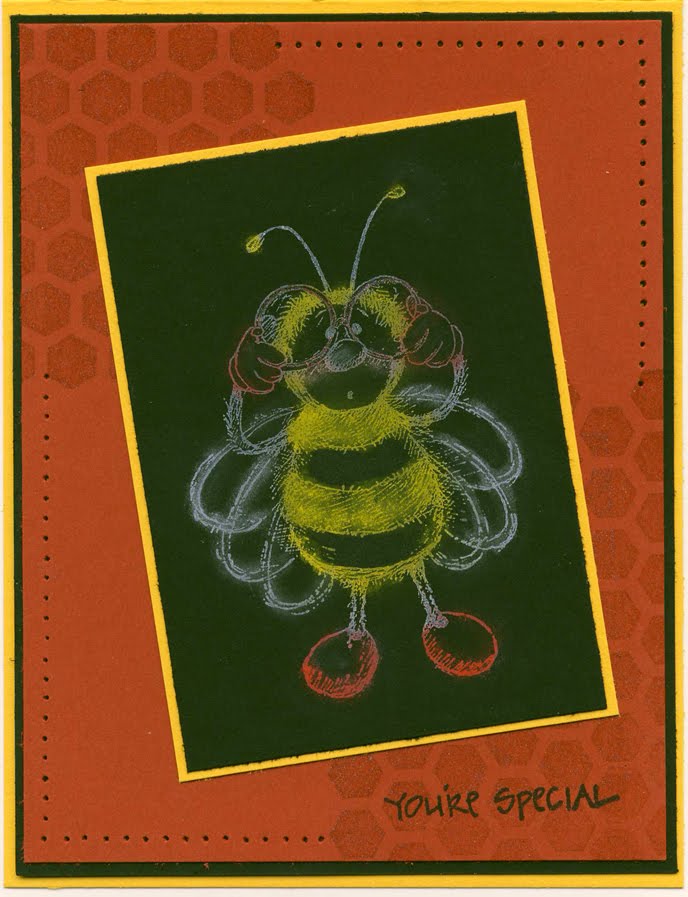
Won't you join me for a class featuring Chalks? You know, those great little coloring tools that are stuffed waaaayyy back in your drawer?
I'll be featuring the following techniques: Background Burst, Chalkboard and Pulled Pastels.
Class starts at 6pm, Thursday, July 15th! See you then!
TTFN, Jane


Sunday, July 11, 2010

Here's the scoop!

Yesterday, I had my cream paper all embossed with the Tim Holtz Notebook embossing folder, distressed with Old paper Distress ink and punched with the EK Success binding edge punch. Then it sat there on the table and I didn't know what to do with it. Today when I saw the Sketch Saturday challenge sketch...I had an idea. I stamped the bear with ice cream from Whippersnapper and colored him with Copics. I then cut him out with the label from Nestabilities. Using the new Victorian Velvet distress ink, I sponged it over the labels die. I used the notebook paper I created yesterday as the matting fot the image. The sentiment was cut out of the fancy labels die and sponged over with the Vintage Photo ink. It all seemed to fall into place this morning. So...if there are pieces laying around that you want to use, but aren't sure what to do with them. Sleep on it and maybe tomorrow you have just the idea that you wanted! Have a good day!!

Saturday, July 10, 2010

It's fishing time...Dude!

I made this card to satisfy two challenges today. The Cute Card Thursday challenge for this week was the theme "Schoold out for the summer!" and then I used the sketch from Friday Sketchers. I wanted to use one of my Stamp Shoppe Creations stamps, so I settled on the Dude. Now the next question was how to make him look like school is out?? I found my Northwoods cube that had a fishing pole and fish on it. The only problem was that the pole wasn't long enough, so I added an extra link to the pole and drew in the bobber and hook. Then I took the fish and stamped them two times. I got all the elements in the right spot by using my Stamp-a-majig. I then colored this guy with Copic Markers. I stamped the Endless Creations "Take it easy..." stamp and cut out with the large scallop oval nestabities. I wanted to use something different for the strips, so I used some red twill ribbon and then a strip of blue cardstock that I put through the Tim Holtz's Dot Matrix Texture fade folder. I will have to see what other accessories this dude should have!!