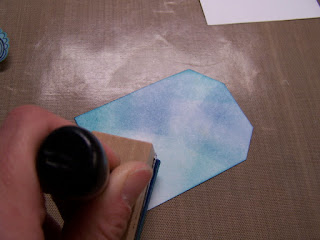
First you cut out the butterfly with the die, then ink up the stamp with a black ink (I am using the Marvy Matchables Ink Pad), then stamp over the cut out piece.
Next, I apply the Faded Jeans to the center of the butterfly. I move the ink until it meets the lighter shade of blue. Then I add a darker shade of blue again, but only to the very center of the butterfly. The darker shade that I used on this sample was the Chipped Sapphire.
Now to create a matching background. I used the same Distress Inks that I used on the butterfly. I sponge on the various colors until all the white space is covered. Try to apply until the the background has a very solid and dark application of ink.
Next, you can apply plain water to the solid butterfly and then I rub the water over the stamp. Then stamp the watered image onto the sponged background. Either you can allow this to dry or use the heat tool to hurry the process. I prefer to heat it and watch the image bleach it's way through the ink!
I made the background into a tag, stamped a sentiment and adhered the butterfly to this piece. Emboss a background for the card with an Embossing folder. Don't forget the pearls!! They add a lot! I use the Viva Decor Pearl Pen. You can make the pearls any size you want, but you need to allow them time to dry.
Now see what you can come up with!! This sample was made using the Dragonfly 2 Clear Set.


2 comments:
I tried this today--but with another die and stamp. Thank you for the idea. Very nice!
Judy
Love the technique, Heidi!
Post a Comment